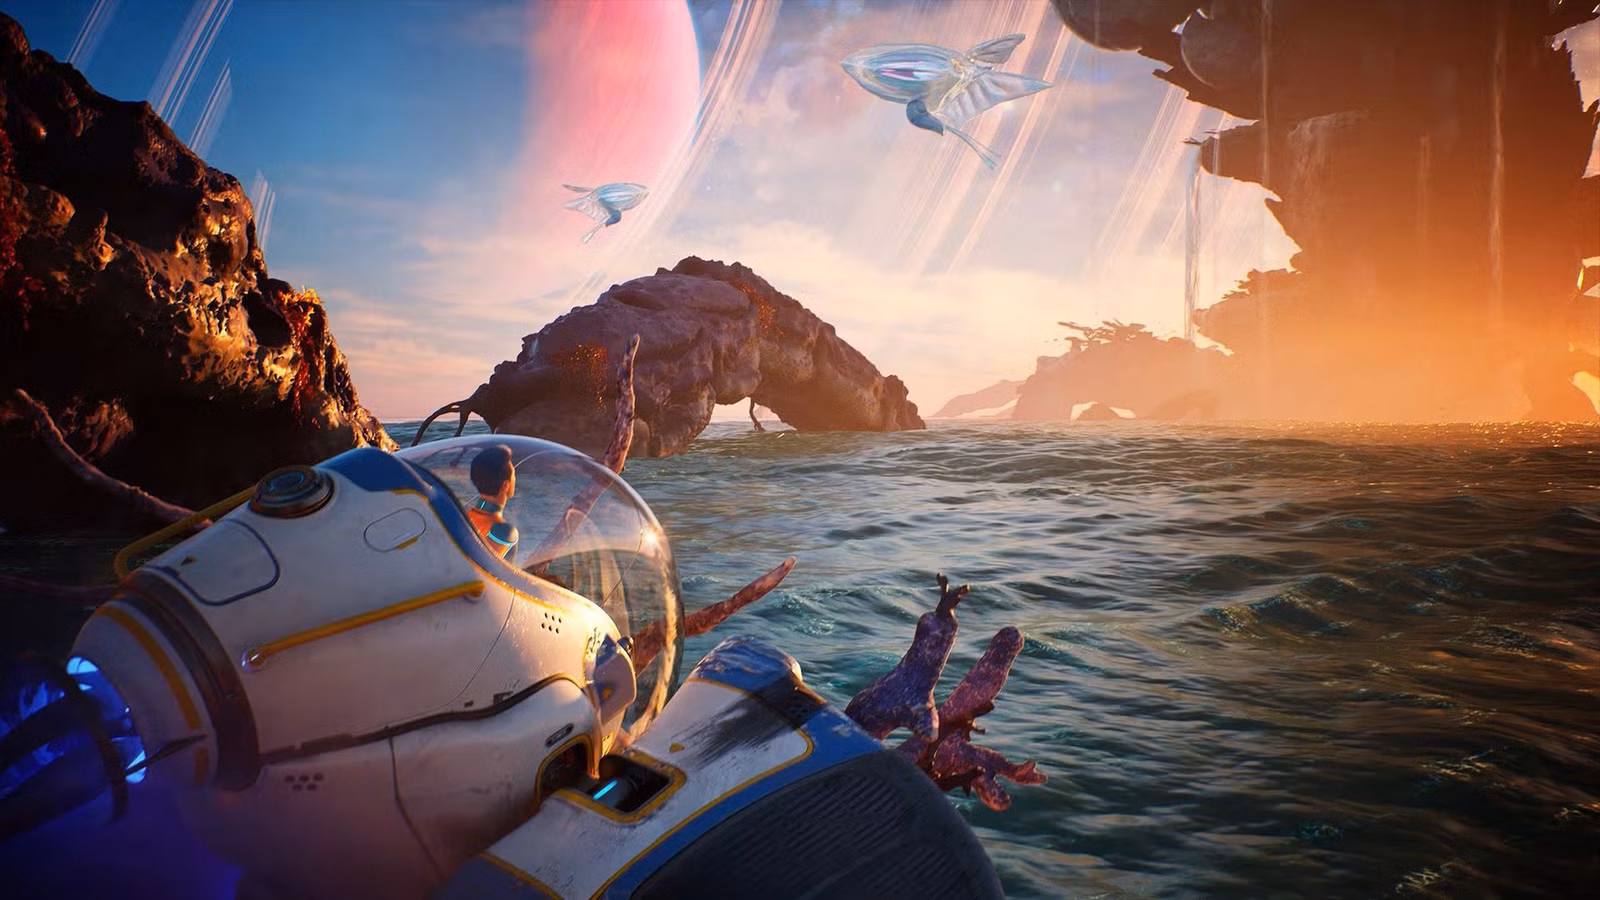
Getting started in Subnautica 2 is a bit overwhelming. Your Lifepod drops you onto a dangerous planet where everything wants to kill you, and there’s absolutely no guidance about how to handle what comes next. Figuring things out is part of the survival game experience, but knowing what to expect can save a lot of time, frustration, and unnecessary in-game deaths.
This Subnautica 2 beginner’s guide breaks down how the game works and offers some essential advice for staying alive.
Subnautica 2 progression follows a pattern
Your NoA device (that’s the big orb that talks to you in your Lifepod) finds a signal from a crewmate’s blackbox or finds a point of interest, and tells you to go check it out. That’s your first task. A few minutes after you find the box, it has another update, and you’re prompted to return to the Lifepod (or wherever you have a NoA device installed) to hear it. Repeat. The new updates don’t come through immediately after you locate the previous objective, as the unspoken idea is for you to explore the surrounding area and find new materials or blueprints.
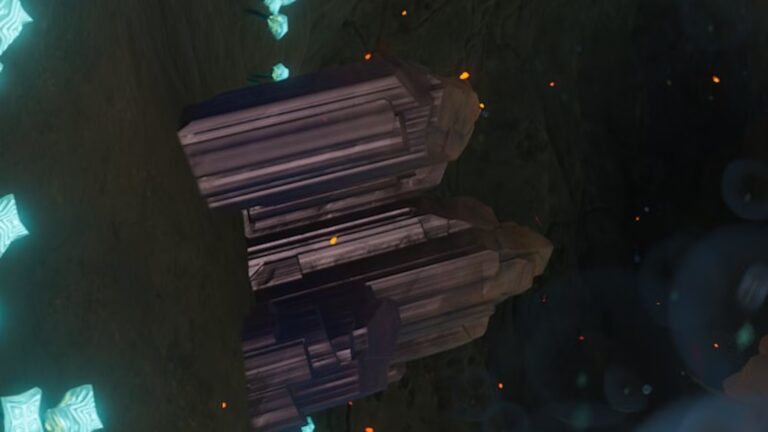
There are a few exceptions. If you see an Angel Comb, the goal is accessing it, either by finding and interacting with it or clearing the sickness that’s growing around it. Angel Combs grant you new mutations (that’s abilities in Subnautica 2-speak) and are essential for accessing new parts of the ocean. Even if your NoA transmits a new signal before you get the comb’s mutation, you’ll still need that ability before you can move ahead.
Explore — a lot

Sure, you could just speed toward the next objective like your NoA assistant tells you to do, but it’s much better to take your time and see what’s around you. You might find a cache of rare materials you can use to get upgrades early or an abandoned habitat with useful tools and maybe even an upgrade or two. Some objectives are even semi-locked behind exploring, where you can’t progress until you find a blueprint that lets you make a necessary tool.
Travel light
When you head out on an expedition, whether you’re following a main objective or just checking out the area, you should only take what you think you’ll need. In most cases early on, that’s just a few bottles of water and a couple of food items, enough to keep you going in a pinch. This way, you’ll have plenty of inventory space for any new or useful materials you come across.
Plan your trips ahead of time
You should get in the habit of dividing your expeditions between exploring and gathering materials. When you’re exploring, take more food and water and make note of where you find useful items, but don’t focus on hoarding things unless you just need that one piece of gold or lithium for your next project. Once you have a better idea of where things are and the best ways to get them, head out with emptier pockets on gathering expeditions, grab all you can, head back to base and stuff it all in your trunks and lockers, and then repeat the process. It sounds excessive, but the amount of titanium and quarts you end up needing for most projects quickly grows beyond what you can carry in a single locker.
And take note of where you are

Subnautica 2 has no in-game map. There’s a scanner you can build that shows the nearby area, but that’s about it. It’s important to document locations of things yourself, and you can make it easier by toggling signals from key locations and blackboxes in the menu. For example, there’s an excellent quartz-farming location not too far from your Lifepod. You could try to remember the particulars of how to get there, or you could jot down that it’s X meters away Wander’s blackbox and toggle that signal on when you need to find it again.
Portable lockers are a lifesaver
Well, they won’t save your life, but they will save you from having to leave behind materials when your pockets are full. You can craft them with a few pieces of titanium, and they hold about half as much as a standard wall locker. If your pockets are full, but you just can’t stand the idea of going back to base before gathering more stuff, pop one of these into existence, and carry it with you. You can access its inventory while holding it and stuff extra bits and bobs inside. Just don’t drop it on your way back.
You can play it safe with difficulty options
You have the option to play with hunger and thirst on or off when you start a new game in Subnautica 2, and you can’t change that once you begin. While hunger and thirst give the game a “full” survival feel, you also aren’t missing anything without them on. Subnautica 2 has plenty of other survival elements to contend with, including monitoring your oxygen, handling pressure at lower ocean depths, heat, and so on. Hunger and thirst are essentially just there to take up inventory space by making you take snacks and water when you leave your base. If that sounds annoying, choose the option that turns them off and enjoy yourself.
There’s a no-oxygen grace period
Speaking of oxygen, Subnautica 2 has a short grace period between the time your oxygen runs out and when you die from it. Once your tank reaches zero, your vision blurs, but you don’t actually die until a half second after the screen goes black. That gives you roughly two seconds between your tank hitting empty and death, so if you’re so close to the surface and think you won’t make it before running out of air, don’t give up.
Look up if you want to live

When you’re trying to reach the surface and refill your oxygen, make sure you’re facing up. You move faster in the direction you’re facing, and if you’re just rising while swimming forward, it’ll take twice as long.
Death isn’t that bad
But if you do die, it’s not the end of the world. Subnautica 2 is a game where bodies don’t matter, and people can be reprinted with the press of a button, so it makes sense that the only thing you lose upon death is your inventory. You can also claim it again by visiting the spot where you died and opening the storage cache there, which has a signal leading you to its location anyway. Not a big deal! But if you’re exploring a new or potentially dangerous location, consider making a manual save file first. If disaster strikes, you can exit the game without saving, then load that manual save file again and save time on having to reclaim your lost goods.
You’re still breathing and getting hungry when your inventory, log, or blueprint menus are open. If you want to properly pause the game, you need to open the system menu by pressing Esc or the Option button on your controller.
Get a better breathing tank ASAP
Upgrade your tank as soon as you can — which can happen pretty early, since it just requires materials you can find near the Lifepod, including a nearby silver location. The first tank upgrade gives you a little more than a minute of breathing time underwater, and it makes such a massive difference. You’ll still need to be careful and look for air pockets or oxygen when you’re exploring at greater depths, but the upgrade means you can actually explore those greater depths without having to pop back up for air every few seconds.
Scan almost everything that isn’t alive
Make a scanner as soon as you can, and use it on everything mechanical or inanimate. Scanning is how you unlock new blueprints and it’s not just for decorative items. You’ll need to scan for things like the tadpole vehicle blueprint or the processor that lets you make ingots. Some key items do have blueprints tucked away on data chips in abandoned habitats, but you can often get these crafting recipes early just by scanning.
On a similar note, make sure you investigate any signs of settler activity, whether it’s part of a shipwreck or just a little exploration outpost. You’ll often find things to scan for blueprints and some restorative items in storage caches.
You can scan living things too if you want more lore about the planet, but it’s not necessary for progression.
Flares do work… sort of

Just not on the monsters you might think. You’ll hear early on from blackbox recordings that big monsters hate flares. You may consider mango nibblers and those hammerhead fish “big,” but they don’t care at all about your flares. It’s the really big ones that get distracted by flares, like the needlers that you find near the alien ruins. These creatures also happen to be dangerous and incredibly annoying, so save yourself some trouble and bring flares when you’re in big monster territory.
Don’t hit the wildlife
They don’t like it! Most creatures leave you alone after you swim a little ways away from them, but if you attack with your survival tool, they start hunting you. That means they follow you and won’t leave you alone until you die or enter a base. You can, however, use the sonic repulsor tool’s charged blast to deter nibblers and other smaller monsters from attacking.
When in doubt, skim the surface
When you’re crossing very deep ocean, you’re likely to encounter very large, very deadly creatures that can instantly crush your tadpole or you. In our experience, they’re less likely to notice you if you’re near the surface. Early in the game when you’re crossing from the tadpole pins to the alien ruins, you might be tempted to explore the depths. Don’t. Just stick close to the surface until you’re close to the ruin signal, and then dive. If you decide to take the risk anyway, make sure your audio is on. You’ll hear loud, ominous music as the more dangerous creatures in the ocean start to approach.
Don’t neglect your personal and vehicle mods
The Sea Skimmer mod makes exploring much faster and easier, for example, by giving you a speed boost when you’re swimming near the surface of an object or the seafloor. Then there’s your vehicle mods. Once you reach the “alien ruins” a little ways into the game, you’ll find an abandoned habitat there and, to the south, a research outpost with a mod that reduces impact damage on the tadpole hull. It’s essential for saving you from yourself (collisions of any severity reduce the health of your vehicle) and from the aggressive wildlife that’s rather less tolerant of your presence.
Expect to build several bases
Don’t get too attached to your first base, as you’ll need to build another later… and another, and another. Basically, when you reach a new location (like the alien ruins), you should build a new base. It’s just more convenient than having to travel hundreds, if not thousands, of meters back to your old base.

Build a NoA device in each base, too
Make sure to build a NoA once you get your base up and running. These devices are the only way you get your next objectives, and since the ones you find in abandoned habitats aren’t tuned to you, they won’t give you objectives. If you don’t like the very loud, persistent throbbing sound these things make, consider building a separate room at your base so you can stash it there, where it won’t annoy anyone.
And don’t forget to build a biobed
Biobeds are your respawn points, so once you have a new base that you’ll be using for the foreseeable future, make sure to build a bed and set it as your respawn (or “reprint,” to use Subnautica 2‘s language) point.