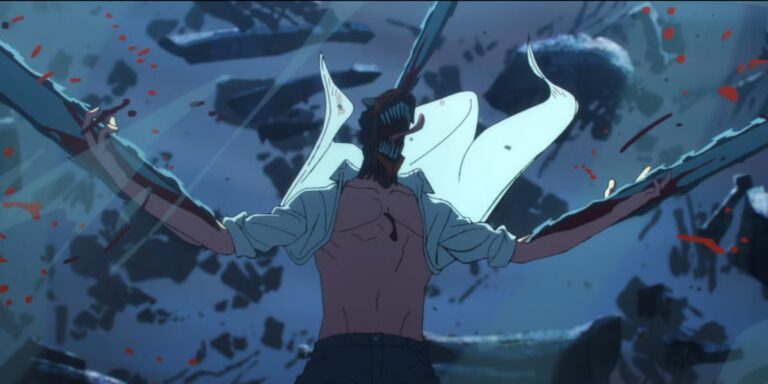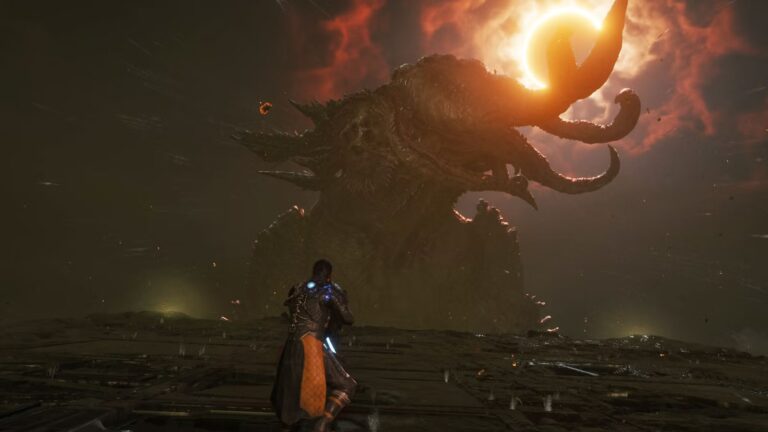
Legion is a boss in Saros that resembles a “school” of octopuses. However, the true boss is a singular enemy hiding within.
Defeating Legion can be a difficult challenge as you’re swarmed with flying enemies and red projectiles in a small arena, but, with the proper weapons and power weapons, the fight can become a breeze.
Here’s how to defeat the Legion boss in Saros and how to prepare for the fight.
How to prepare for the Legion boss in Saros
The Legion boss is located at the top of the elevator at the end of the Blighted Marsh. Before you head in, we recommend grabbing either an autohit weapon like the smart rifle or an area-of-effect weapon like the eruptor handcannon. This is because Legion is very mobile and somewhat hidden. Legion looks like a group of octopus-like enemies, but it’s actually just the glowing enemy hidden inside the pack. You’ll need to focus all of your shots onto the glowing enemy otherwise you won’t do any damage to the boss. As for its proficiency level, we recommend reaching level 30, but this isn’t as important because your power weapon can carry you through the majority of this fight.
We highly recommend grabbing a prominence power weapon because even if you accidentally hit one of the smaller enemies, you’ll still hit Legion due to its explosive damage. It’s even better if you have a prominence weapon with trail mines and searing field, because of its wider range, and it can deal multiple instances of damage to the boss. With just one blast of prominence, we were able to take out more than half of Legion’s health.
Lastly, try to get used to parrying because they do fire a lot of red projectiles throughout the fight.
How to beat the Legion boss in Saros
Like the majority of the other bosses in Saros, Legion has three health bars and three phases. There isn’t anything special about the arena where you fight the boss, so you’ll need to focus on dodging and parrying. However, Legion itself functions a little differently when compared to the other bosses.

The most important tip to defeating Legion is to always aim for the larger glowing enemy rather than the smaller ones, as destroying a smaller enemy won’t do any damage to the boss.
If you have your Overdrive, we recommend saving it for when the boss has a lot of HP and clumps up together during one of its attacks. Overdrive will deal a lot of damage against Legion and can quickly end any of its phases.
First phase
For the first phase of the Legion boss fight, a majority of their attacks can be avoided by constantly running around the arena. If an attack starts to get a little too close to comfort, make sure to dodge to the side. During this phase, Legion has three attacks to look out for:
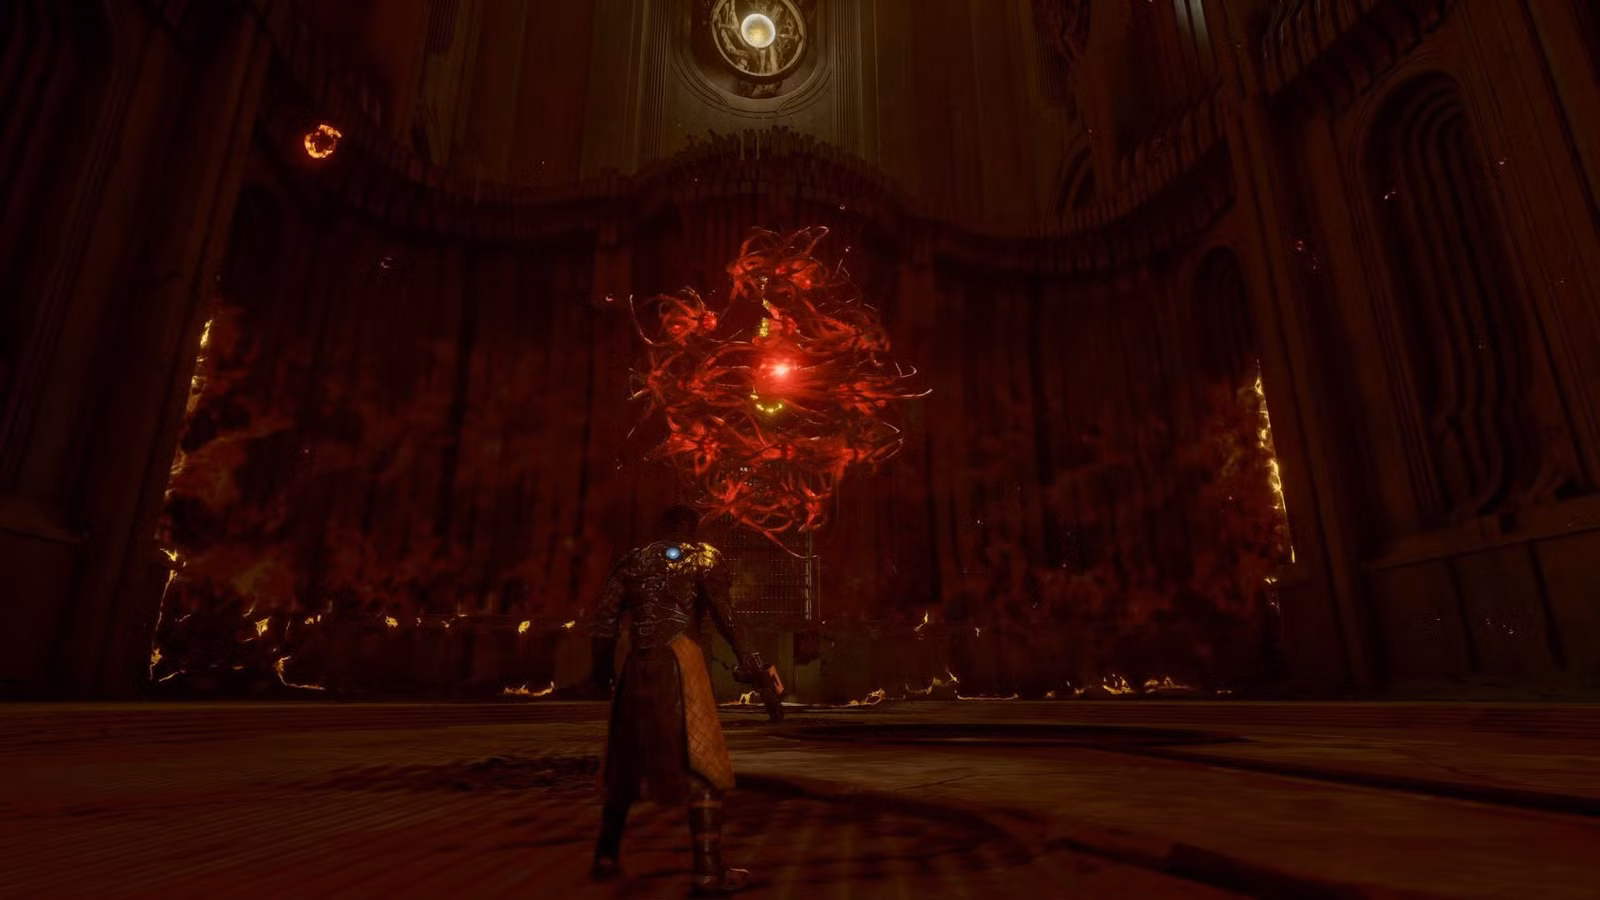
- Target formation: Legion and their little buddies will transform into multiple rings (almost like a target). The outer ring will shoot red projectiles while the inner ring will shoot blue projectiles. This can be avoided by running to the side, but it’s also a great opportunity to use your power weapon as you’ll have a clear line of sight on the boss. You can also destroy the smaller enemies to reduce the number of projectiles.
- Enemies circle around you: The smaller enemies form a circle around you and fire off red projectiles toward the center of the circle. Time your jumps to avoid the projectiles. Dodge midair if you need to stay airborne for a little longer.
- Legion clumps up: Legion groups up with the smaller enemies, similar to a school of fish, and fires off multiple red projectiles in your direction. Continue running to the side to dodge the projectiles. If they’re getting close, try your best to parry them. This is also the best time to use your power weapon.
As the boss moves in between each attack, they’ll also shoot a couple homing yellow projectiles, but these can also be avoided by constantly moving to the side.
Second phase
In the second phase, Legion’s attacks are relatively the same, but they’ll shoot a little faster and there will be more projectiles to look out for. There is just one new attack where they enter a starfish formation. Each leg will shoot red projectiles toward you, but they can all be avoided by running to the side.

Continue to avoid the boss’ attacks as normal and use your power weapon when possible.
Third phase
The third and last phase is just like the last two, but this time, you guessed it, there are more projectiles, and they’re more frequent. When the enemies circle around you, tap the jump button rather than holding it down, so you have enough time to jump over all the projectiles. The starfish formation also changes to what appears to be a sun, but it can still be avoided by running to the side.
Repeat everything you’ve learned so far until you successfully defeat the boss.